How to configure webmail in outlook?
How to Export Webmail Messages using Webmail to Outlook 365 Converter ?
Summary – Want to switch from Webmail to an Outlook 365 account? Don’t have a precise answer for the same problem? If so, you’ve come to the correct place. For transferring Webmail emails to an Outlook 365 account, stay put and choose a trustworthy Webmail to Outlook 365 converter programme.
Webmail is extremely important in the modern digital environment. Nearly everyone uses webmail accounts, including students, instructors, professionals, small and large businesses, home users, etc. But did you know that despite a certain Webmail’s many useful features, many customers still want to move to Outlook 365? There are several benefits to using Office 365, including its robust security features, team collaboration capabilities, and availability of subscription-based payments. Continue reading this blog to learn a trusted method for converting Webmail to Outlook 365.
Webmail to Outlook 365 Converter - Reliable Solution!
Learn how to set-up your email using Microsoft Outlook on your Windows computer.
1. Open the outlook app and click on ‘File’.

2. Click on ‘Add Account’ option.

3. Select option ‘Manual setup or additional server type and click ‘Next’.

4. Select the option ‘POP or IMAP’ and click ‘Next’.

5. Enter Your Name and E-mail Address.
Select IMAP as your account type.
Enter the incoming and outgoing server details.
In Logon Information enter the e-mail address and password of the webmail account you want to connect.
Click More Settings.

6. Select Outgoing Server and check ‘My outgoing server (SMTP) requires authentication’.

7. Select Advanced.
For Incoming server (IMAP) enter 993/(POP) 995 and select SSL.
For Outgoing server (SMTP) enter 465 and select SSL.
Click ‘OK’.

8. Click ‘Next’. The settings will be checked, and you will see a success notification if the account has been set up properly.

9. Click ‘Finish’ button.

Outlook 2016 and 2019
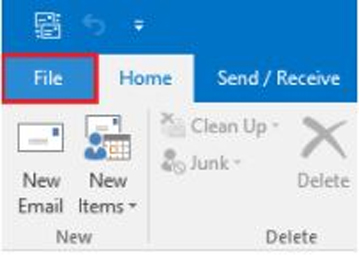
1. Open the outlook app and click on ‘File’.
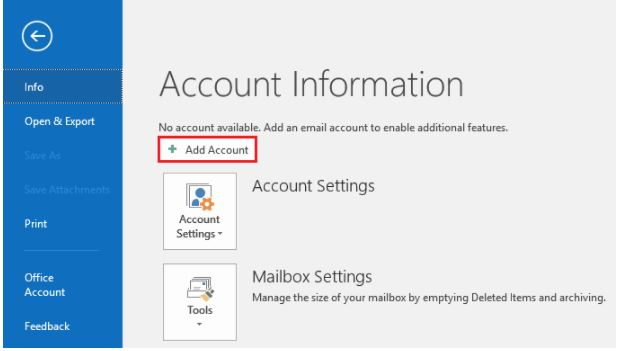
2. Click on ‘Add Account’ option.
3. Enter the email address.
Click the ‘Advanced options’ link and check the box to set up the account manually.
Click the ‘Connect’ button

4. Select the option ‘POP or IMAP’

5. Enter the incoming and outgoing server details.
Specify the port numbers.
Select encryption method- SSL/TLS.
Check the box ‘Require logon using Secure Password Authentication’.
Click ‘Next’

6. Enter the password of the Email account and click ‘Connect’.
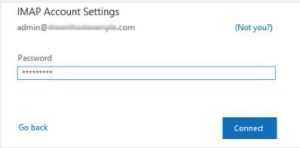
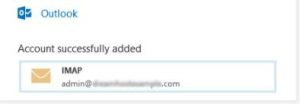
7. You will get a success notification if the account has been set up properly.


 Target audience and buyer persona: You can’t go about selling a medicine to a person offering fitness program on internet. The first and most important step in social media marketing for online store is defining the right set of audience and their online behavior. If you know your target audience well, half of the work is done. Most of the companies and digital marketing experts run advertisement on social media platform without knowing the audience behavior. It will not only burn your cash but also tranquilize your social media marketing efforts. We as a social media expert always do extensive research in consumer behavior, their social activities and platform usage. Our social media marketing strategy will be based on above three pillars hence the conversion chances are more.


